Hey guys, good to see you again. Spencer Hall with Endurance Exteriors. The red, white and blue. And as you know, these colors do not run. And what am I doing up here in the sky except for yapping about a roof.
Metal Roofing Cap
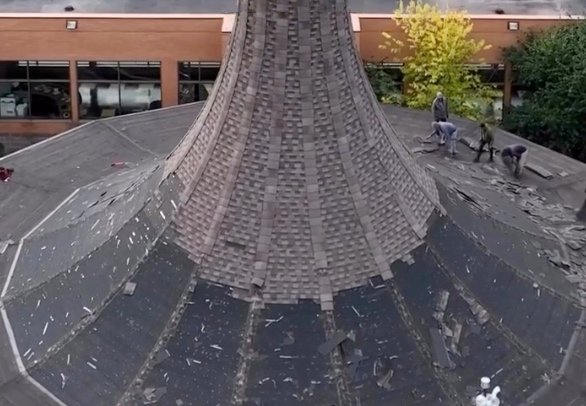
So let’s get right into it today. I’m going to talk to you about the metal cap that we put at the top of this after the shingles were put on. But before we do that, let’s talk about what it used to be. Galvanized steel before, yes, but in poor condition. And when we tore it off, we discovered underneath that the wood had rotten and was not that good.
Ice and Water Roofing Materials
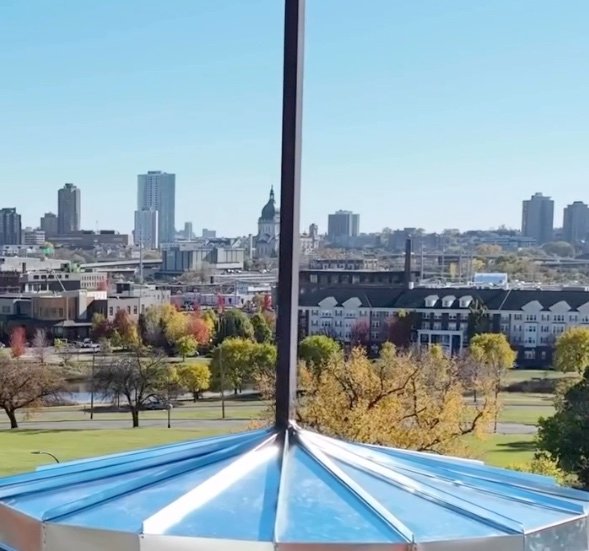
So we laid down a plywood sheet and followed by ice and water shielding, followed by the metal cap that you see here now. Now let’s get into the metal cap. This is galvanized steel standing steam style roofing. And you can tell by the grooves here, right? 26 gauge standing seam.
And you can notice that it’s kind of put on in a pizza slice kind of fashion. It wasn’t one single metal piece. It’s actually individual slices that got put together to form the greater dome shape. Now this is for two reasons. First of all, it helps disperse snow.
It’s not going to sit up here. It’s an esthetic piece, but from the ground most people can’t see it. It’s going to allow water to run off more cleanly. And we also hid a lot of fasteners in here that you can’t see to provide a more esthetic look. The cross is pre existing still in great condition.
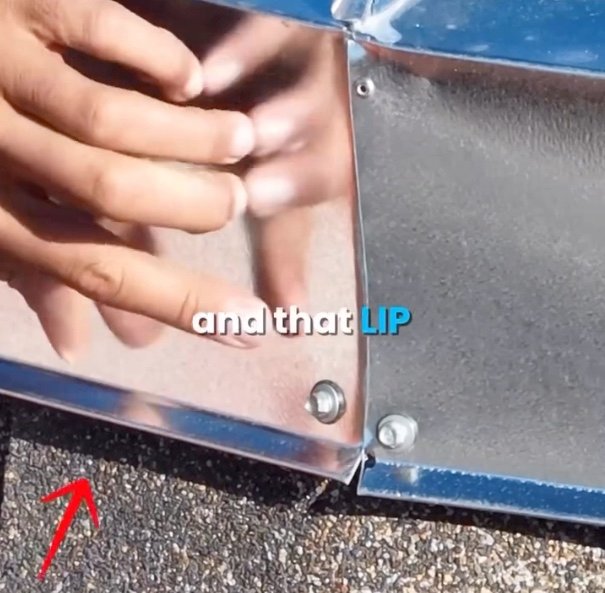
So we reuse that. And as you can see on the sides here, it’s got kind of a lip. And that lip is meant to also disperse water more efficiently. So 26 gauge standing seam metal pizza slice formation, ice and water beneath and also plywood sheets. And we kept the same cross and that’s the metal dome.
Pro Tips
- Always follow the manufacturer’s specific instructions for your new cap, as details can vary.
- When overlapping multiple pieces of metal, always ensure the upper piece overlaps the lower piece in the direction of water flow to maintain a watertight seal.
- If the cap is installed under shingles, use a prybar to gently loosen and remove nails under the footprint of the existing cap flange.
- For metal-to-metal installations, unscrew the existing fasteners. If screws are rusted, you may need a lubricant or an impact driver.
- Remove old roof cement, debris, and sealant from the roof surface and the protruding duct to ensure a watertight seal for the new unit.
Safety First
- Check the weather: Ensure the weather is dry and calm during the entire process.
- Work safely: Use a sturdy ladder, and consider a safety harness if working on a sloped roof.
- Wear protective gear: Use work gloves and eye protection when cutting and handling metal or using tools.